Saturday 27 November 2010

How I Created the Model Destruction

The 3DS Max 'Rayfire' plugin allows for complex model destructions that was perfect for what we wanted to achieve with our animation. Once the model was finished with materials / textures added it was time to apply the plugin to the model. The following steps are how the animation is created:

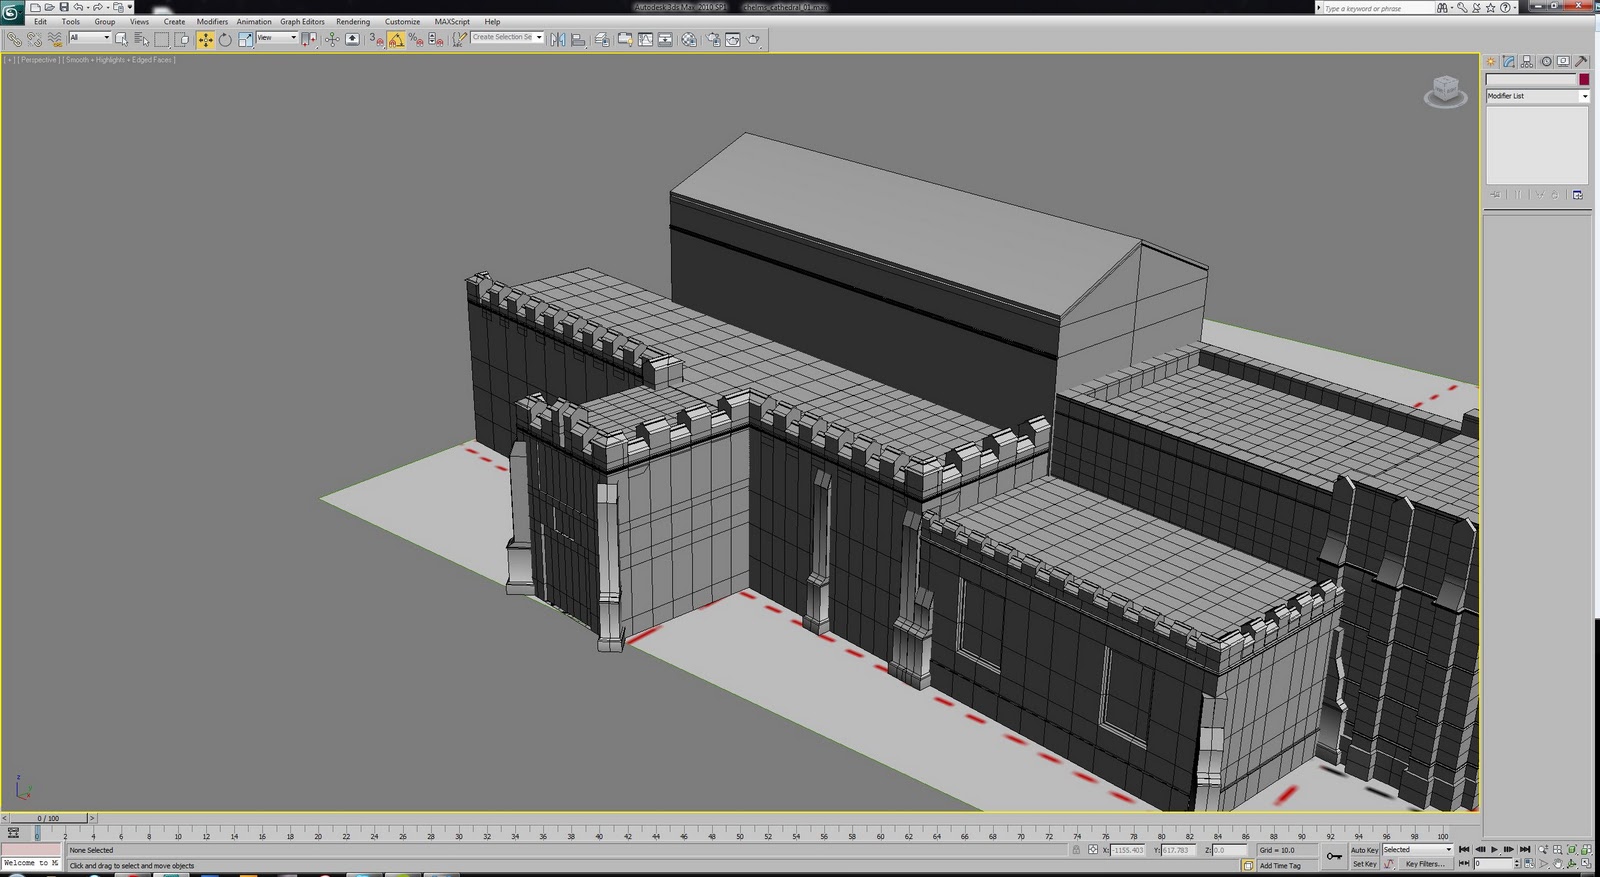
1. Attach all individual objects into 1 object. This is mainly because if the rayfire tool is applied to multiple objects Max tends to crash. For the church I left the windows seperate.

2. Create a sphere that will act as the 'wrecking ball' that will destruct the scene (this is hidden/deleted after the animation is created)

3. Animate the sphere passing through the object to be destroyed.

4. Open Rayfire and select the church and add it as a 'Impact Object' under the 'Simulation' Tab.

5.In the RayXplosion tab select the Fragmentation Type and the iterations, which is the number of segments that the model will be fragmented in. More fragments = better end result however is difficult for the PC/Max to process, too many normally ends in a Max crash. Once selected click 'Fragment Impact Objects'. The Software then automatically fragments the model.

6. Under the Physics tab Set the 'wrecking ball' as an unyielding object. Do the same for the base that the model sits on.

7. Select all fragments and set them as Inactive Objects.

8. Under physical options set the start frame and the time range in frames.


9. Click Create Animation and (if it doesn't crash....which it often will) wait for Rayfire to generate the keyframes.


Initial Rayfire Church Test

Friday 26 November 2010

Progress 3

The materials have now been finished and the church now sits on a globe to provide a soft render environment. The materials are a collection of largely stock images collected from the internet and edited in photoshop. Sections such as the orange brick wall were merged with the stone wall parts to accurately represent the actual church. I am extremely happy with the way the model has come out. The model is extremely accurate and detailed the ornaments are very nicely modelled and the detail level on the slate roof parts I am particularly pleased with.


Tuesday 23 November 2010

Progress 2

The model is now largely finished structurally. All sections have been modelled which just leaves the materials now. I have collected a massive resource of source materials in attempting to find the perfect one for my church, if I cannot find that perfect one I will take an SLR camera to the church and obtain some of my own images to use. Il continue looking online for the moment as im sure to get strange looks photographing a church at midnight.


Monday 15 November 2010

Chelmsford Cathedral, so far.....

After creating my guides I then Started the modelling of the church. Im initially creating all the main structures and creating bits of detail where I fancy along the way. The windows and doors are going to be very difficult so im going to leave them until the end for fear of spending too much time on them.

So far I've been modelling from boxes mainly, using the chamfer tool a lot to smooth corners and to create the ridges in the building. Could do with learning some architectural terms for writing in the blog thinking about it. I will be going into much more detail later on to explain how I did the more challenging parts of the model. 


Saturday 13 November 2010

My model choice....

I have decided to model Chelmsford Cathedral. Its a spectacular historical building that would be a great challenge to model in 3d and also a very interesting to apply the rayfire plugin to.

Friday 12 November 2010

Learning Solid Surface modelling techniques - Fountain Tutorial


So far during university I have primarily been making organic models. Which leaves me lacking the skills in solid surface modelling. I have spent a lot of time watching tutorial videos on youtube on how to model buildings and other relevant structures. 

I followed this fountain tutorial to produce the model below. The website the tutorial is located is a really good resource for very high quality tutorials.